EV Charger Installation guide
What actually happens when you get an EV charger installed in Carseldine?
What Actually Happens When You Get an EV Charger Installed in Carseldine?
Here is the short answer: an electrician assesses your switchboard, runs a dedicated circuit to your garage or carport, mounts a wall-mounted Level 2 charger, and tests the whole thing. Start to finish, most residential installations in Carseldine take somewhere between two and five hours on the day. The fuller picture is worth knowing before you book anyone.
The Site Assessment Comes First
Before any cable gets pulled, a licensed electrician needs to look at what you are working with. In Carseldine and the surrounding suburbs like Bald Hills and Albany Creek, most homes are brick-veneer or lowset builds from the 1980s and 1990s. That means switchboards are often older single-phase units, sometimes still running ceramic fuse carriers rather than modern circuit breakers.
The electrician will check three things at this stage:
- Switchboard capacity. A 7kW Level 2 charger draws around 32 amps on a dedicated circuit. If your board is already loaded with air conditioning, a pool pump, and an electric hot water system, headroom can be tight.
- Earthing and protection. Australian standards (AS/NZS 3000) require a residual current device (RCD) on the charger circuit. If your board pre-dates RCD coverage, that gets sorted now rather than later.
- Cable run distance. How far is the charger location from the switchboard? A straightforward run along an internal wall is different from a 20-metre run under a concreted driveway. Distance affects both cost and the cable rating required.
If the assessment reveals a switchboard that cannot safely carry the extra load, a switchboard upgrade is not optional - it is a safety requirement. In our experience across Carseldine and Boondall, roughly one in three older homes needs at least a partial board upgrade alongside the charger install. Budget accordingly.
Choosing the Right Charger for Your Home
Level 2 home chargers in Australia typically run at 7kW on a single-phase supply. That will add around 40 kilometres of range per hour of charging, so an overnight top-up of eight hours gives you roughly 320 kilometres. For most people driving a daily commute into the Brisbane CBD or around the northside suburbs, that is more than enough.
Three-phase supply is less common in residential Carseldine streets, but it does exist in some newer estates and on larger blocks. If your home has three-phase power at the switchboard, a three-phase charger can push 11kW or even 22kW, which roughly halves or quarters your charge time. Worth checking your switchboard before you assume you are limited to single-phase.
The charger itself comes in a few flavours:
- Tethered units have a fixed cable attached. Convenient because the cable is always there, but if the cable eventually degrades, you replace the whole unit or the cable assembly.
- Untethered units have a socket outlet (typically Type 2 in Australia). You plug in your vehicle's own cable. Slightly more flexible if you ever switch vehicles.
- Smart chargers connect to your home Wi-Fi and let you schedule charging, monitor energy use, and (with the right setup) integrate with time-of-use tariffs or your solar system.
For homes in Carseldine with rooftop solar, the smart charger option is worth the small extra cost. Connecting your solar system to your EV charger so it prioritises solar generation during the day can meaningfully cut your running costs. We handle that integration as part of the install rather than leaving it as a separate job.
The Installation Day: What to Expect
On the day, the electrician will typically:
- Isolate power to the switchboard and install the new dedicated circuit breaker and RCD.
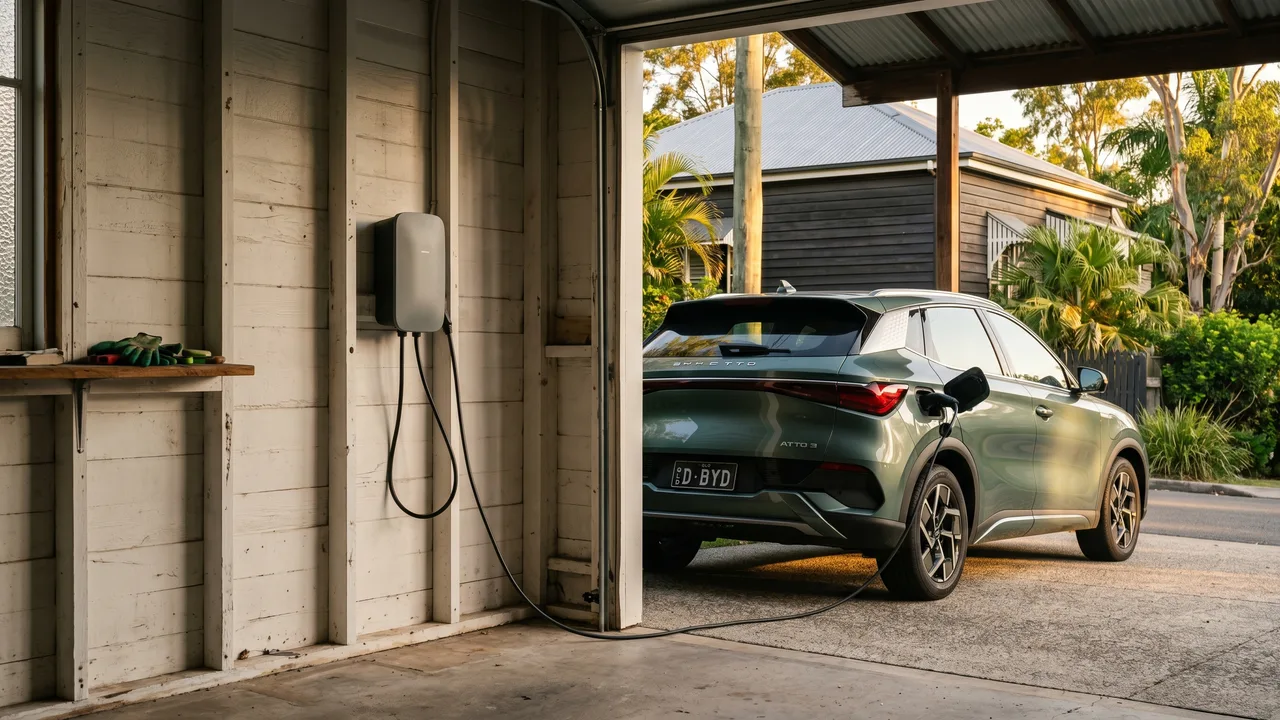
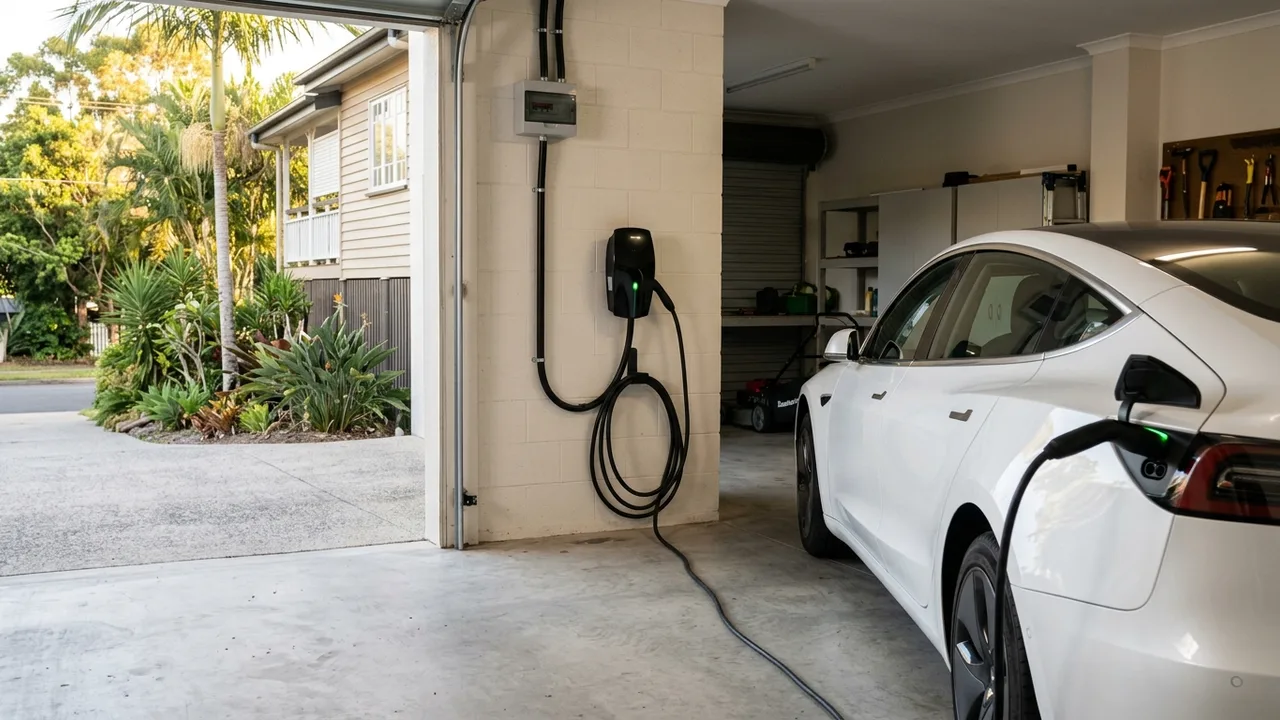
- Run the cable from the board to the charger location. In a single-car garage with the board nearby, this is often a tidy surface conduit run along the wall. Under concrete or through cavities adds time.
- Mount the charger on the wall at a practical height, usually around 1.1 to 1.2 metres, so the cable reaches the vehicle charge port without strain.
- Commission the unit, run through any app setup if it is a smart charger, and test the RCD.
- Issue a Certificate of Compliance for Electrical Work (CCEW). You need this document - keep it somewhere safe because your insurer may ask for it.
Expect the site to have no mains power for roughly 30 to 60 minutes while the board work happens. Plan around that if someone is working from home.
Costs and the Trade-offs Worth Knowing
Across our installs in Carseldine and nearby suburbs like Bracken Ridge and Sandgate, a straightforward single-phase charger supply-and-install lands somewhere between $1,800 and $2,800. Three-phase installs, longer cable runs, or switchboard upgrades push the figure higher - typically $2,800 to $4,500 for a more complex job.
A few honest trade-offs:
Buying the charger yourself vs. supply-and-install. Some customers buy a charger online to save money. That is fine, but check that the electrician is willing to install it and that the unit is compliant with Australian standards. Some cheaper imported units are not, and an electrician cannot legally connect non-compliant equipment.
Smart charger vs. basic charger. A basic hardwired outlet (essentially a dedicated high-current GPO) can be installed for less, but you lose scheduling, load management, and solar integration. If you have solar or plan to add it, the smart charger pays back the extra cost fairly quickly.
Doing it now vs. waiting. EV uptake in Brisbane's northside suburbs is climbing steadily. An installation done now, with cable runs tidied into the wall and compliance paperwork in order, is easier and cheaper than retrofitting a charger to a finished garage renovation later.
Solar Integration in Carseldine: A Practical Note
Carseldine sits inland enough that the salt-air corrosion concerns relevant to bayside suburbs like Sandgate and Brighton are minimal. That is good news for rooftop solar longevity and for outdoor-rated EV charger hardware.
If you already have a solar photovoltaic (PV) system, the simplest integration uses the charger's built-in solar surplus mode: it reads the grid import/export data and ramps charging up or down to match available solar generation. This requires either a compatible smart meter or a current transformer (CT) clamp on the grid connection. We include that setup as part of a solar-integrated install rather than billing it separately.
One thing to manage: if your solar inverter is more than ten years old, check that it supports the communication protocol your charger needs. Some older SMA and Fronius units require a firmware update or a separate energy monitor. It is a solvable problem, just worth knowing about before the install day.
A Straightforward Closing Thought
If you are in Carseldine, Bald Hills, Albany Creek, or any of the surrounding suburbs and your EV is currently charging from a standard wall outlet, you are almost certainly leaving convenience (and in some cases, safety) on the table. A standard 10-amp outlet delivers about 2.4kW, which means an overnight charge adds perhaps 16 to 18 kilometres of range. A dedicated Level 2 charger does eight to ten times that.
The installation process is not complicated. The costs are predictable once someone has looked at your switchboard. And the compliance paperwork is standard - any licensed electrician should provide it without you having to ask.
If you want a clear quote rather than a rough range, the most useful thing you can do is send a photo of your switchboard and a rough description of where you plan to mount the charger. That gives us enough to work with before we even visit the site.
Quick answers